Good Morning Friends!
It is finally feeling like fall and it is a bright, crisp morning (crisp as in 52°)! Sun is shining and I love having to bundle up with a sweater and warm cup of coffee. So I know I have been slacking in Blog land, abandoning everyone for about a month. We have been super busy with work, and I apparently had a blog brain shut down. No need to fret, I am back with stacks of fun, new inspiration collections!!
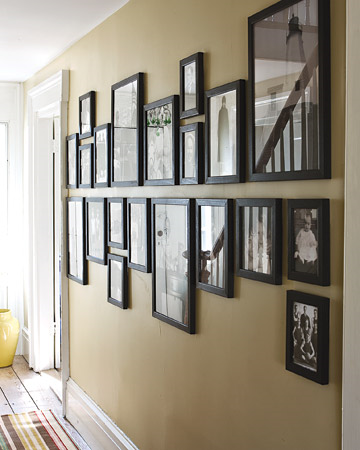
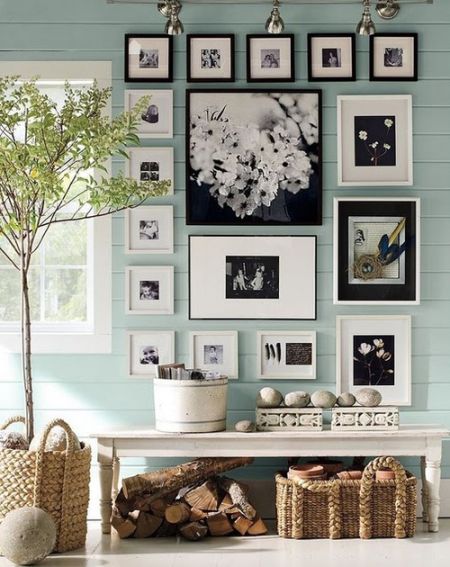
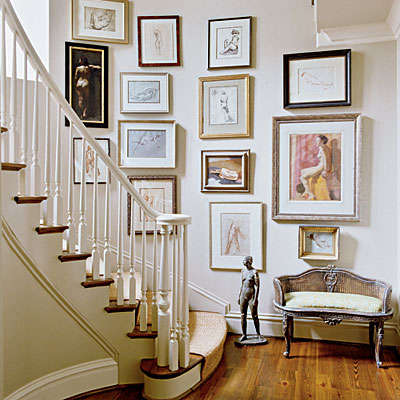
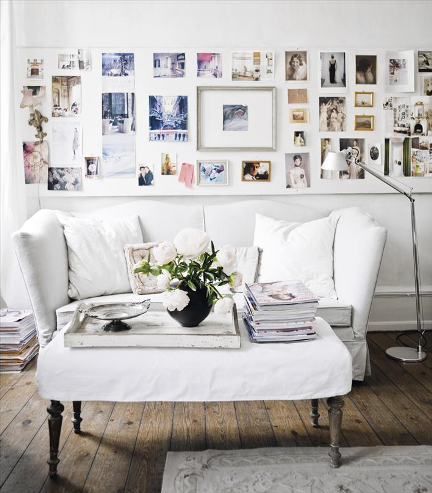
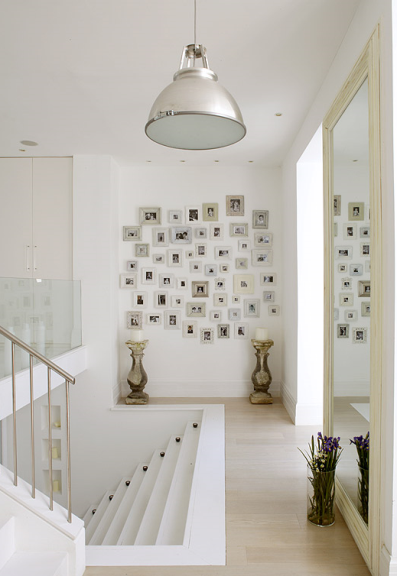
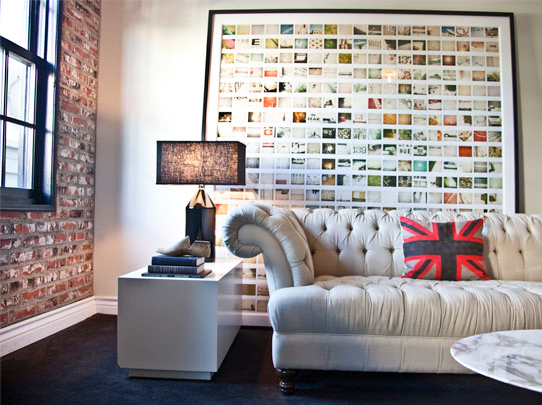
I have always had a passion for photography and have recently been sifting through some of my photo’s. Which in turn got my thinking about Gallery Walls. I generally don’t love a lot of clutter on walls, but there is something so inspiring about photo/art groupings. No matter what the style, you are guranteed to have a visual story by looking at all the images and I love that….
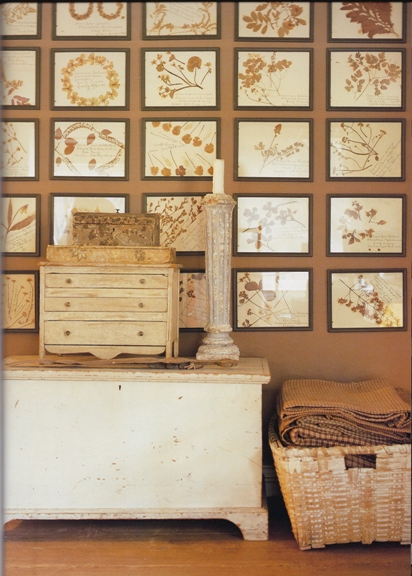 (Rooms to Inspire in the Country, Annie Kelly)
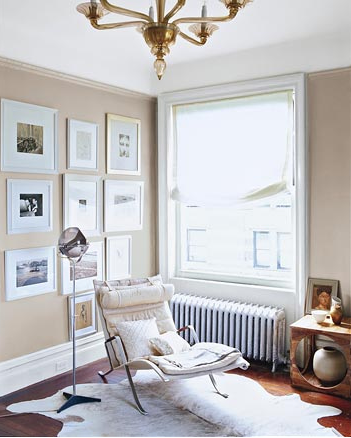 (Domino Mag… miss you)
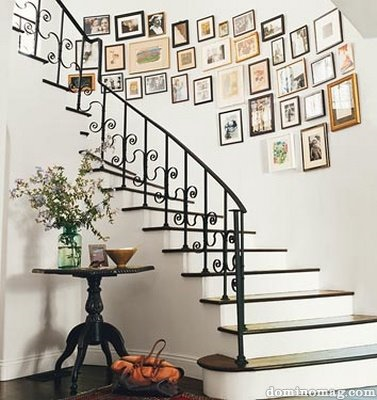 (Domino Mag… miss you)
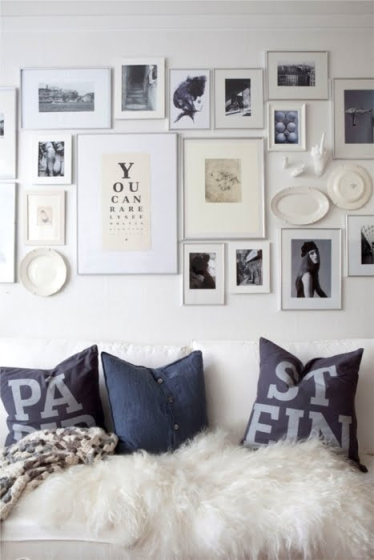 (my Ideal Home)
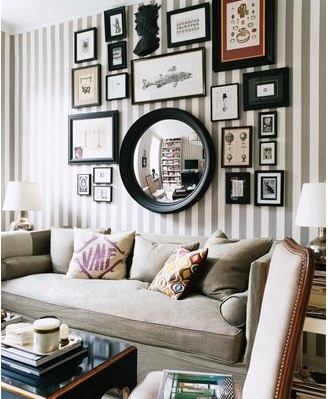 (Domino Mag… miss you)
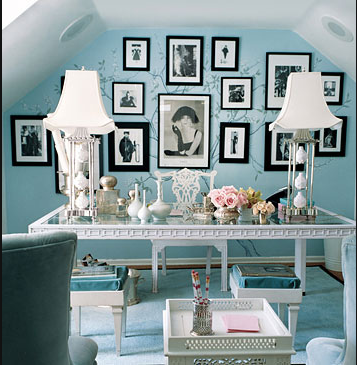 (Domino Mag… miss you)
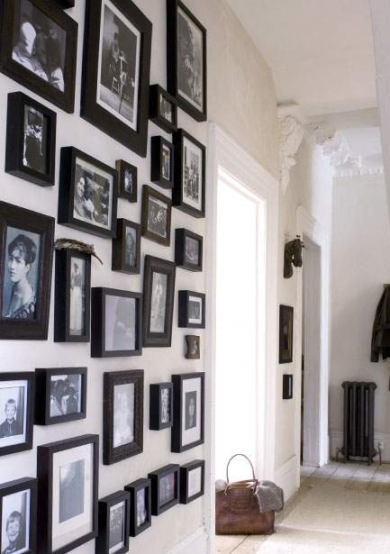 (home life)
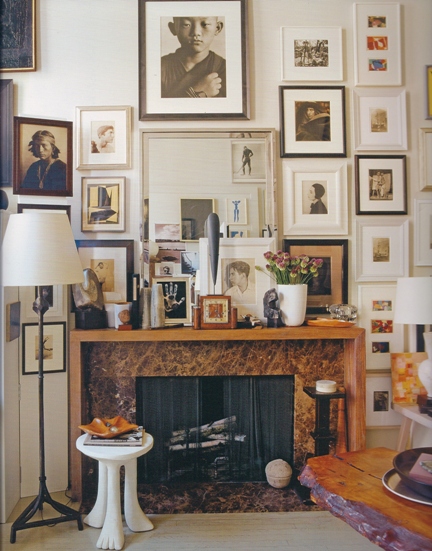 (American Modern, Thomas O’Brien)
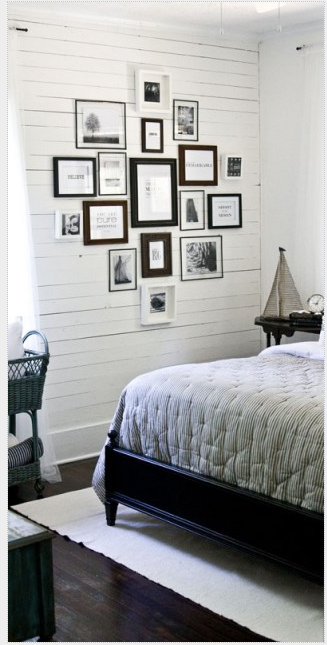 (houzz)
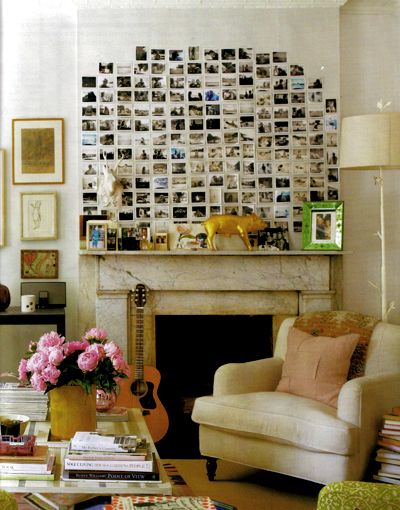 (citified)
Great collections, Right? Whether you have mismatched frames or all the same, hanging can be the challenging part. Before I tackle the install of one of these, I like to measure the overall space I will be covering and put a painters tape square on the floor of the same size. Then I layout all the artwork I will be using and play with the arrangement, like puzzle pieces until I find the best placement for each. When it’s time to grab the hammer, I start with the central image an work my way out. Hopefully in a short amount of time you have all the beauties up!
Two secret tricks to keep in your back pocket:
1. I try not to use a pencil. No need to write on or damage you walls any more than necessary. Once I get the artwork in place, lick the end of your finger and mark the top center. It will leave a disappearing spot you can measure down from.
2. Poster Putty will be your best friend and I always keep some in my tool box! Once the picture is up, I stick a small amount of poster putty on the bottom in order to make sure the pictures always stay level.
Enjoy your day! See you soon!


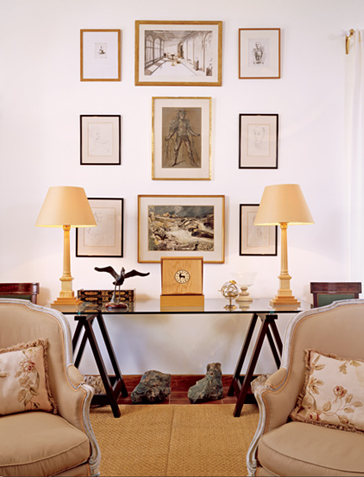 (
(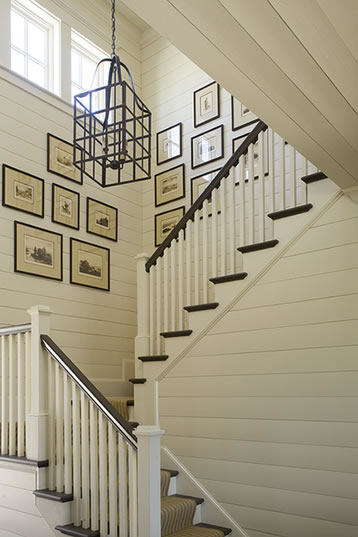 (
( (
( (
( (
( (
( (
( (
(